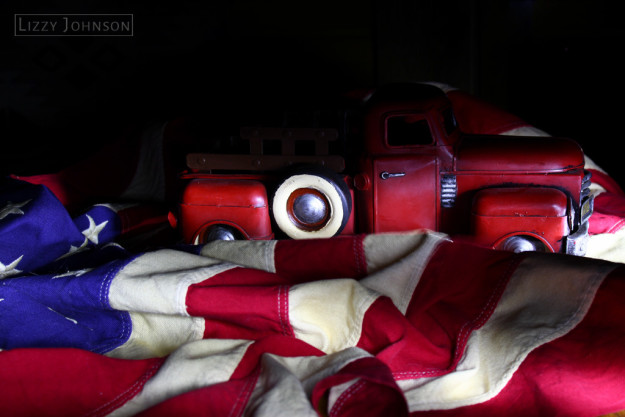
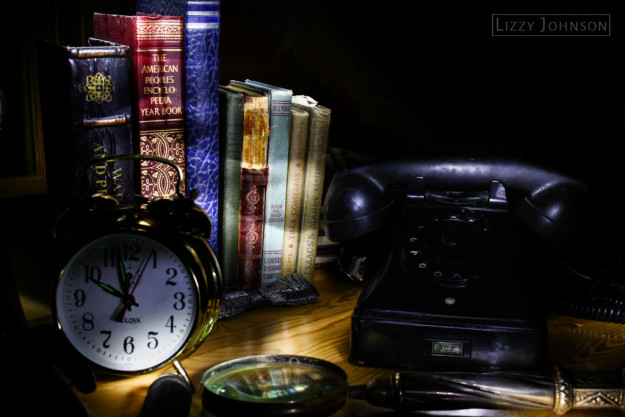
Light painting can add intense contrast to your photographs.
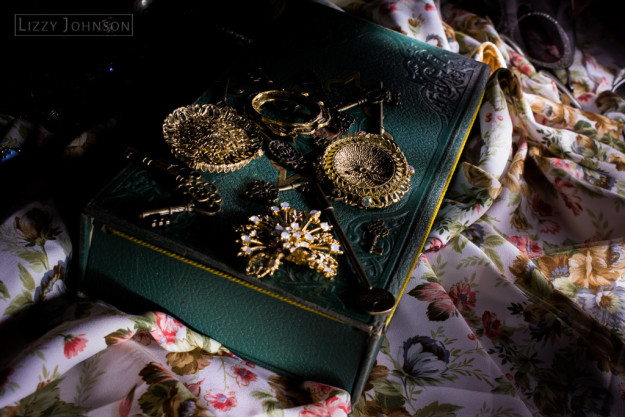
This uses that same technique that I outlined in my previous post here. You want to be equipped with a long exposure on your camera and a flashlight. For all of these photographs, the shutter was open for about 10 seconds, and it involved a lot of running around a table without trying to knock over the tripod. A little tip–whenever you are light painting, be careful not to point the flashlight directly at the camera! This will help you avoid getting light trails in your photographs.
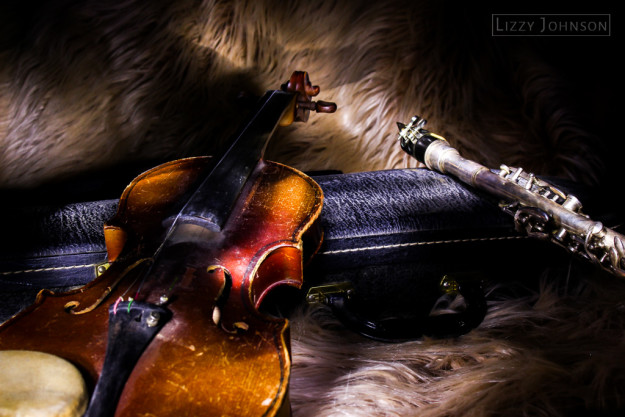
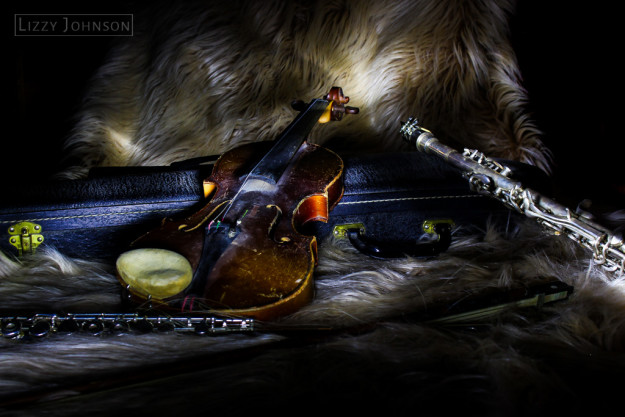
The best way to achieve contrast in your photos is to only light up part of the image. Don’t illuminate the whole thing with the flashlight! Keep some of it in shadow. It will make the highlights in your picture stand out so much more.
I loved this tabletop setup that we had with these instruments. I thought that the fur was a great contrast to the instruments, and it really helped me get some great shadows in between the hairs. This was probably my favorite of the set ups that I had.
These keys and brooches were so. Cool. I loved how sharp I was able to get them–that way you are able to see all of the small details. The contrast of the gold on the green box also is fabulous.
Improve Photography wrote a lovely article about how to improve your light painting skills. Go check it out, and Happy Photographing!

