To get those perfect head shots
you don’t need twelve different lights at different angles. All you need is one good light source shining at a certain angle on your subject, and voila! Beautiful and dramatic head shots are yours for the taking. I didn’t even have a background for this shoot either. I just used the same technique that I posted about last week to get that perfect black background. Click here if you want to check it out!
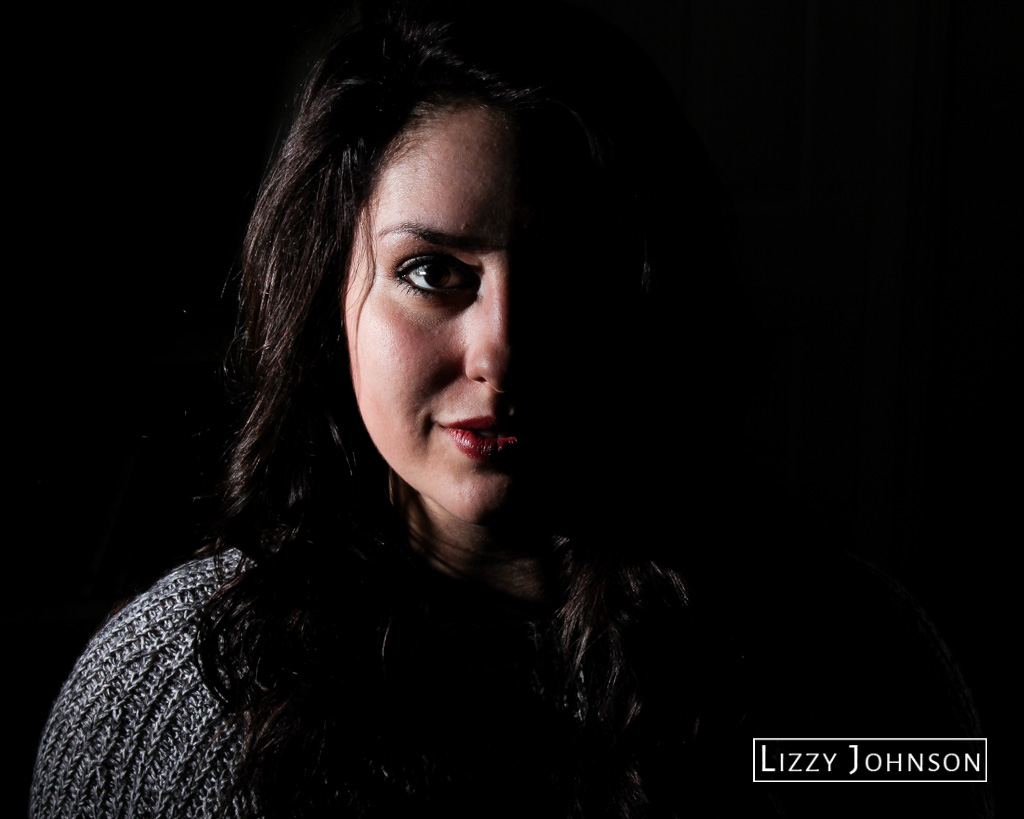
This is the first lighting technique that I used, and it’s called split lighting. See that split of light and shadow down her face? This creates a dramatic and mysterious feel to your picture, and definitely makes your subject pop. This is definitely my favorite lighting technique for head shots. It just adds so much drama to your photo.
In order to get this effect. you want your light source aimed directly at the side of your subjects face. That way, you’ll be creating a 90 degree angle between the light source, the subject, and your camera. By doing this, the light only illuminates one side of the face, throwing the other into shadow. For this shoot, I just used a single speed light with a snoot mounted on a stand.
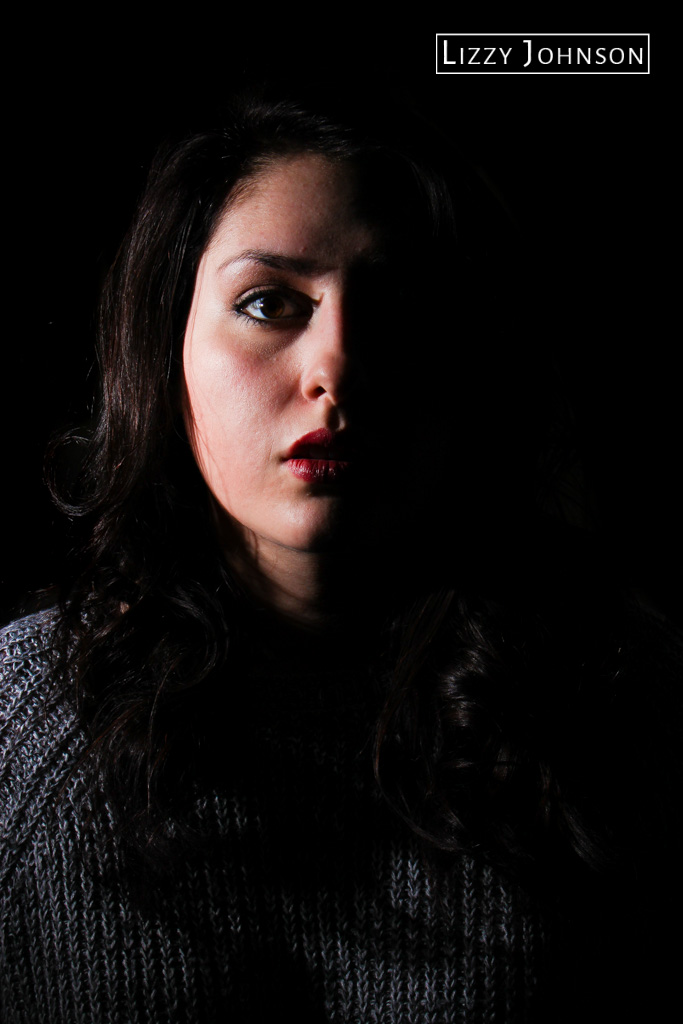
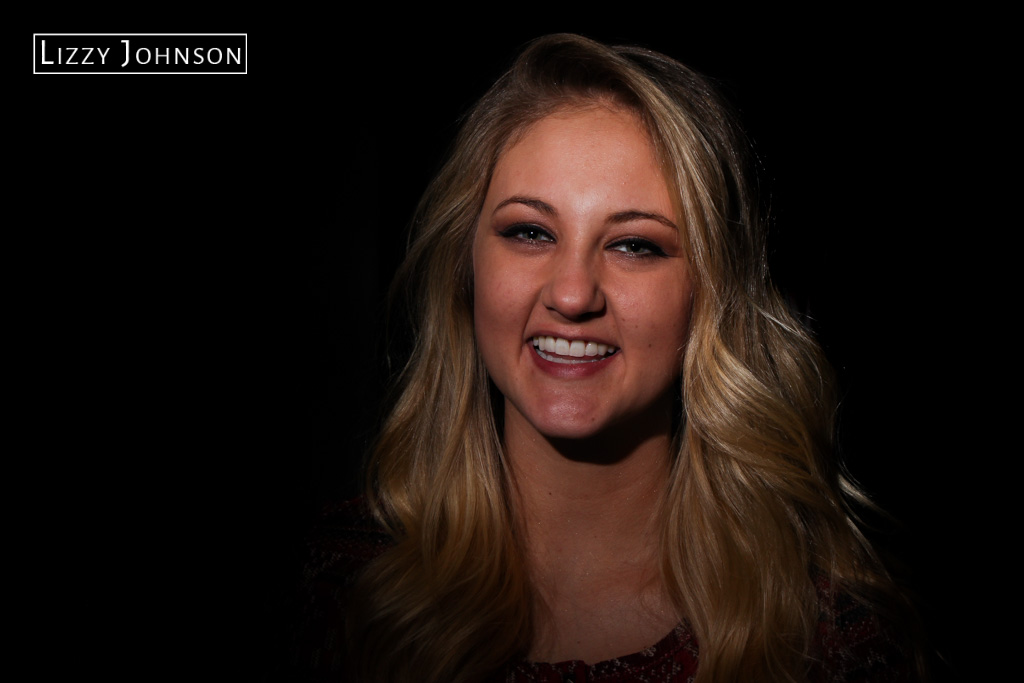
This next lighting technique is called loop lighting. See how the left side of her face (our right) is lit up, unlike the picture above, but her temple and cheek is still a bit in shadow? In order to get this, I moved the speed light until it was about a foot away from me on my left. It took a bit of adjusting, so don’t be afraid to take several test shots until you get the perfect angle. Just be sure to warn your subject so you don’t blind them repeatedly with the speed light!

Be sure to spoil your subject! Keep them hydrated–those lights can get hot.
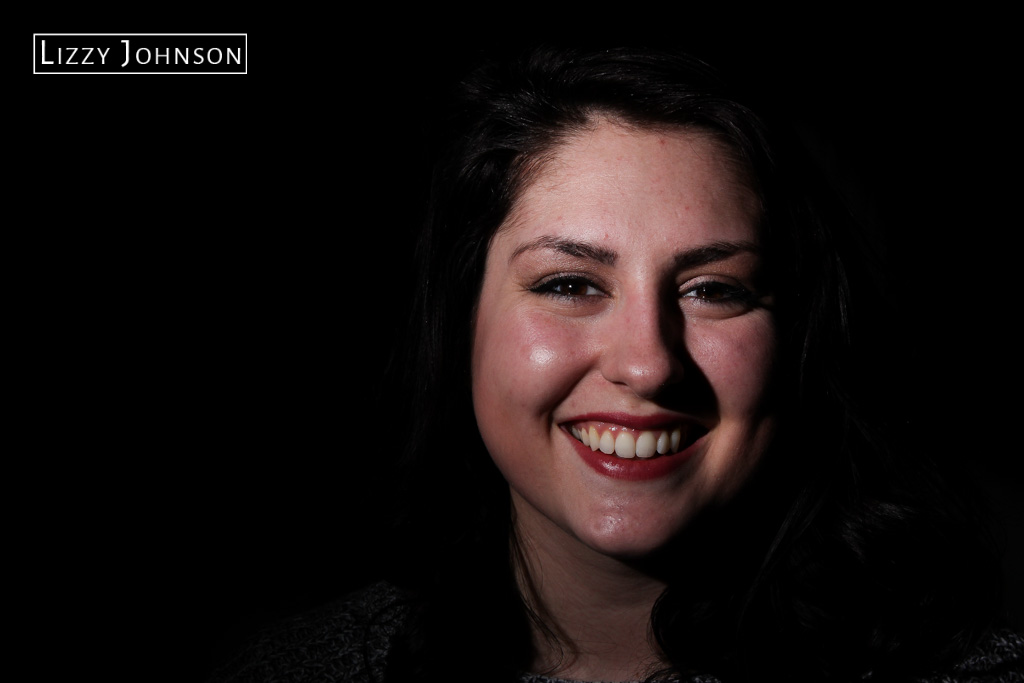
The final lighting technique that I’ll be talking about is called butterfly lighting. This is when the light is shining directly on their face, creating just a small shadow underneath their nose and their chin. The sides of the face are completely illuminated, unlike loop lighting. This lighting can be very flattering for your subject, because it softens hard lines on their face. To get this lighting, put your light directly behind you–that way you don’t get the pole holding up your light in front of your camera.
Here’s an article that goes into detail about this, and even accounts for cost! It includes a video tutorial and everything about this, so go ahead and check it out!
So with this new found knowledge, go forth and take head shots that even Peter Hurley would be jealous of!